guide
How to build a wine cellar: the build sequence, from framing to racking
A cellar builder's step-by-step for constructing a home wine cellar: choosing the room, 2x6 framing, vapor barrier and insulation, the door, cooling, electrical, flooring, racking, and the order of trades.
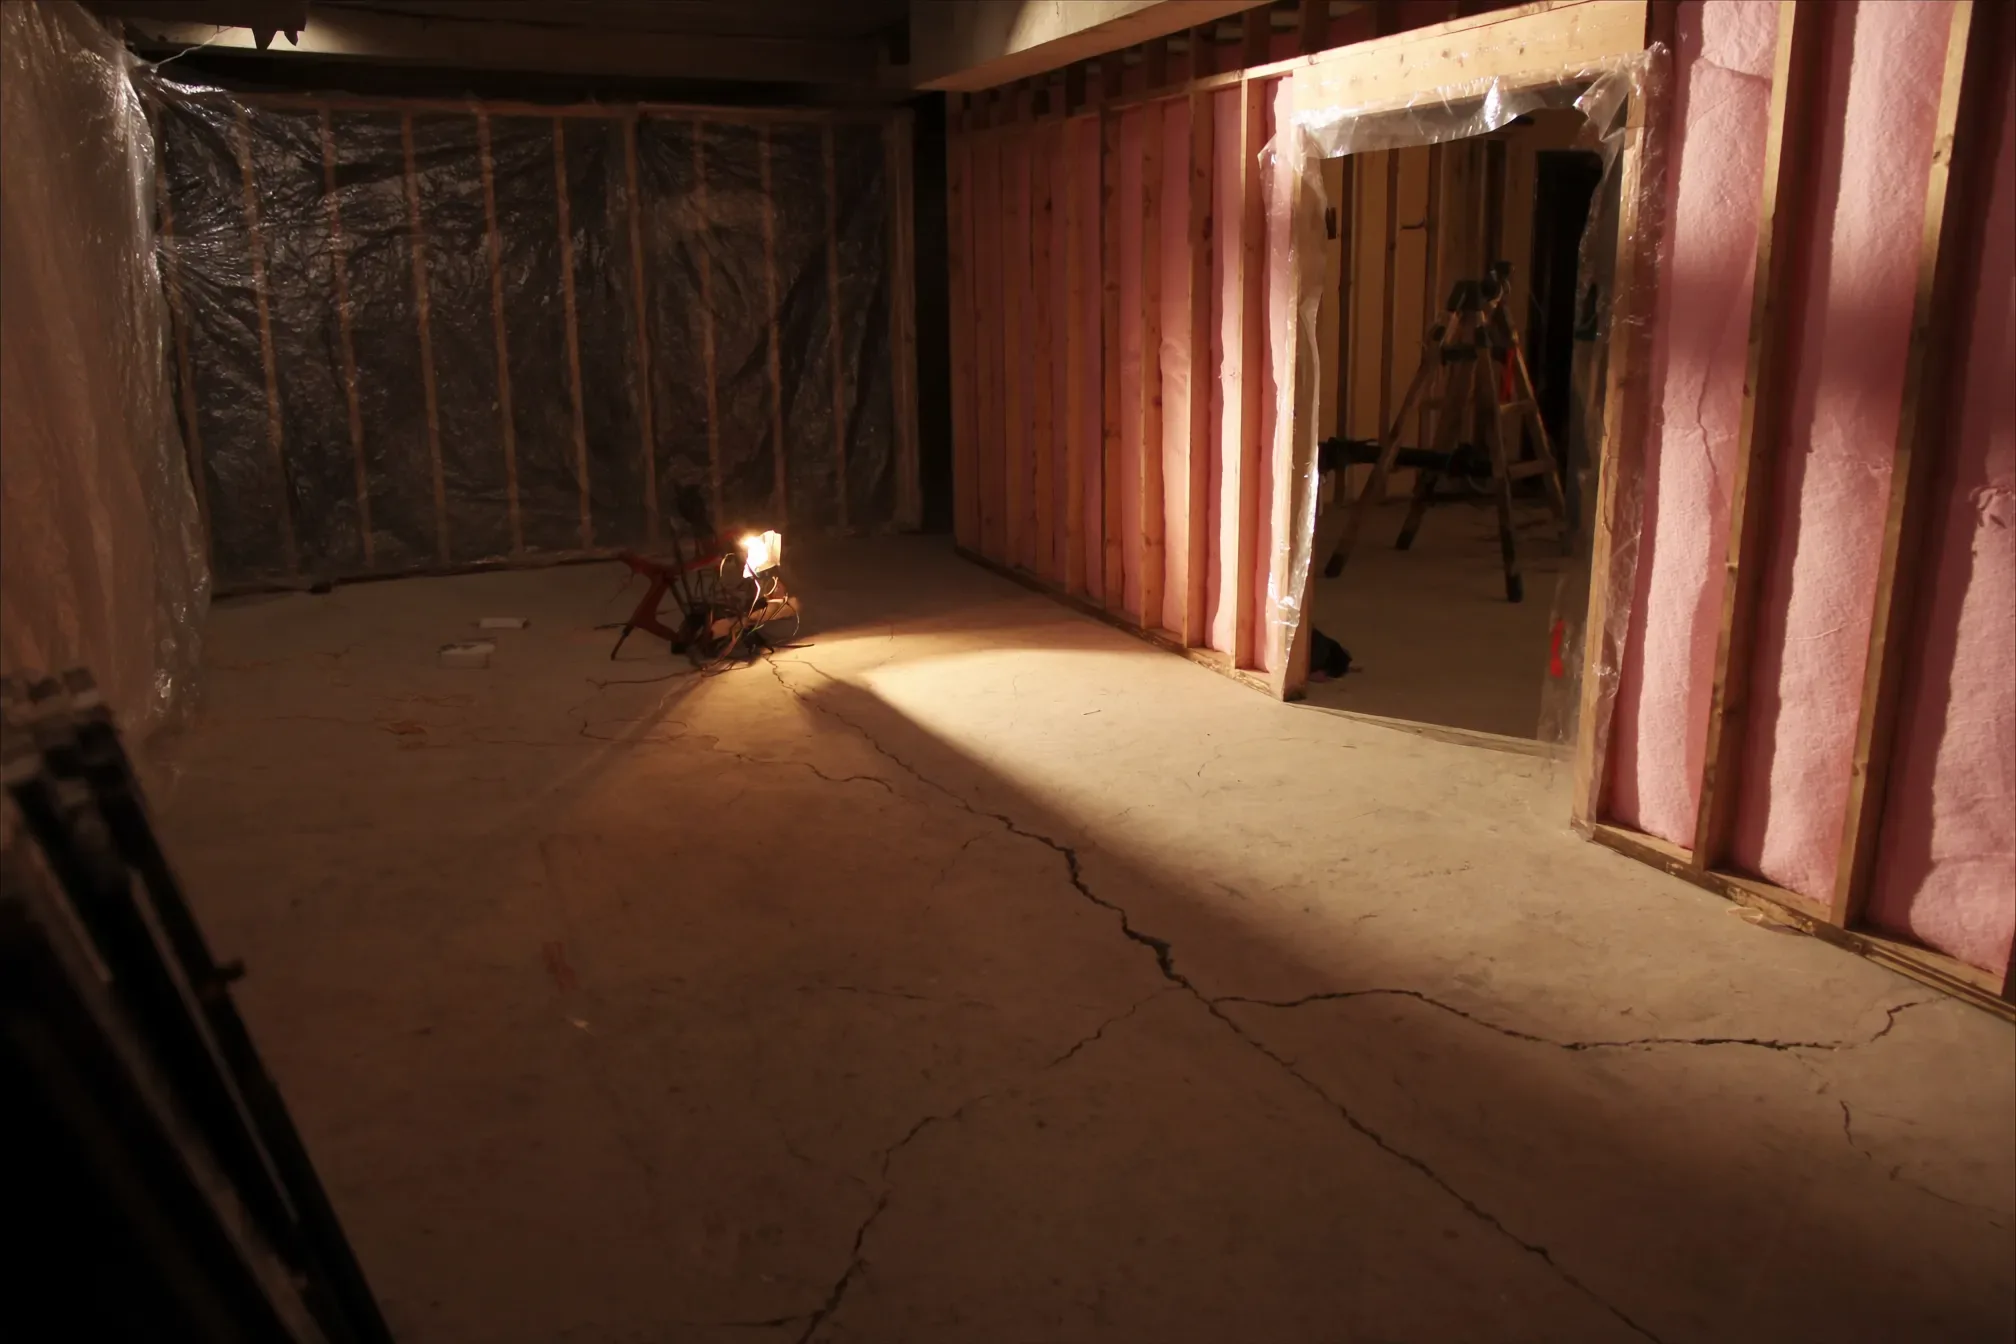
Building a wine cellar is mostly building a very good small room. The racks and the lighting are what people picture, but they go in last. What decides whether the cellar holds its numbers is everything you cover up: the framing, the vapor barrier, the insulation, and a door that seals.
This is the sequence we follow when constructing a wine cellar, with the numbers we design to. Each step links to a deeper guide.
Step 1: Choose the room and set the target
Every decision downstream depends on two numbers: 55°F (13°C) and about 60% relative humidity (50 to 70% is fine), held steady. Our guide to ideal cellar temperature and humidity explains why stability matters more than hitting either number exactly.
The room you choose determines how hard the equipment works to hold those numbers. What we look for:
- No exterior wall in the sun. A south or west wall that bakes in summer adds load all day.
- No heat sources on the other side. Keep the cellar off walls shared with a furnace room, water heater, laundry, or kitchen.
- A place for the heat to go. If you will need active cooling, the unit has to exhaust somewhere. Decide where before you frame.
A basement corner is the usual first choice; see our basement wine cellar guide for foundation walls and slabs. Smaller spaces work too, including the space under the stairs. If the spot stays under about 65°F (18°C) all summer, a small passive cellar may not need a cooling unit at all. Log temperature and humidity at the exact spot before you commit.
Step 2: Frame with 2x6 walls
We frame cellar walls with 2x6 studs, not 2x4. The reason is depth. A 2x4 wall leaves a 3-1/2-inch (89 mm) cavity, which tops out around R-13 to R-15 with batts. A 2x6 wall gives you 5-1/2 inches (140 mm), enough for R-19 to R-21 batts or roughly 3 inches of closed-cell spray foam.
With existing 2x4 walls, fur them out or add rigid foam to reach R-19.
While the framing is open, do three things you cannot easily do later:
- Add blocking for the racking. Horizontal 2x blocking between studs at the heights your racks will anchor gives you solid fastening anywhere along the wall. Ask your racking supplier for the heights.
- Frame the cooling opening. A through-the-wall unit needs a framed, headered opening sized to the manufacturer's spec. A ducted or split system needs chases for ducts or line sets.
- Frame the door opening for an exterior-grade prehung unit. Get the door first, or at least its rough-opening dimensions, before you frame.
The ceiling needs depth too. R-30 batts are roughly 9 to 10 inches thick, so 2x10 or deeper joists, or closed-cell foam, which reaches R-30 in around 5 inches.
Step 3: Vapor barrier on the warm side, then insulation
Warm house air carries more moisture than cellar air, and it moves toward the cold room. If it reaches a cold surface inside the wall, it condenses, and you get wet insulation and hidden mold. The vapor barrier stops it before it reaches the insulation, so it goes on the warm side. On a cellar wall facing the rest of the house, the warm side is the house side, not the cellar side.
The common way to do this from inside the cellar is to run 6-mil polyethylene into each stud bay, wrapping it across the studs so it lies against the back of the outside wall's drywall. Then the insulation goes in front of it, and the cellar-side finish goes over that. Overlap seams generously and tape them, and seal every penetration for wires, pipes, and boxes.
Targets:
- Walls: R-19 or better.
- Ceiling: R-30. The room above is usually heated living space.
- Closed-cell spray foam is the alternative to batts plus poly. It insulates, air seals, and acts as the vapor retarder in one layer.
This is the step people most often get backwards. Our full guide to wine cellar insulation and vapor barriers covers ceilings, foundation walls, and which foam does what.
On the cellar side, we finish with moisture-resistant drywall or cement board and a low-VOC paint. It costs little more than regular board and forgives a humid summer.
Step 4: The door
The door is the weakest point in the envelope, and it moves. Specify an exterior-grade door: a solid or insulated core, typically 1-3/4 inches thick, in a prehung frame with weatherstripping on all four sides and a sweep or sealed threshold at the bottom. Cold air sinks, so the bottom edge is where a cellar leaks most.
Add a closer or self-closing hinges. If you want glass, use a sealed insulated unit. Single-pane glass is about R-1 and fogs; double-pane is about R-2. Our guide to wine cellar doors covers cores, seals, and hardware, and glass wine cellars covers glass walls.
Step 5: Choose and size the cooling
Size the cooling to the room you built, not the bottle count you hope to reach. The load depends on volume, insulation, the temperature on the hot side, glass area, and how often the door opens. Put those into our BTU calculator, and read how to size cellar cooling for why oversizing is as much a problem as undersizing.
Then choose the type:
| System | Where the heat goes | Fits when |
|---|---|---|
| Through-the-wall | Into the room behind the unit | That room is large, ventilated, and stays within the unit's rated range year-round |
| Ducted self-contained | Ducted to a larger space | You want the unit out of sight and have room for duct runs |
| Ducted split | Outdoors, through a remote condenser | You want the quietest cellar or have nowhere indoors to dump heat |
Our overview of wine cellar cooling units compares them, with deeper guides on through-the-wall units and self-contained vs ducted split. Whatever you pick, plan a condensate drain or pump from the start.
A residential air conditioner is not a substitute. Most are built to cool to around 68 to 72°F and pull a lot of moisture out of the air, which is the opposite of what a cellar needs.
Step 6: Electrical and lighting
Rough in the electrical before insulation, and keep it simple:
- A dedicated circuit for the cooling unit, sized to the manufacturer's spec. Many units need one.
- Airtight boxes. Every outlet and switch box in a cellar wall is a hole in the vapor barrier. Use gasketed or airtight boxes, or seal them.
- Low-heat LED lighting only. Incandescent and halogen add heat the cooling has to remove, and some wines are sensitive to UV. LED strips in the racking or a few small fixtures are enough.
- Drivers and transformers outside the cellar, since they give off heat too, and a timer or occupancy switch on the lights.
Recessed ceiling fixtures must be rated for insulation contact and airtight, or they punch holes in your R-30. A licensed electrician and a permit are the norm for this work in most places.
Step 7: Flooring
Cellar flooring lives at steady high humidity. No carpet. It holds moisture and grows mold. The safe choices are sealed concrete, tile, stone, and brick.
On a slab:
- Check the slab for moisture first. Tape a square of plastic to the concrete for a day or two; condensation or darkening underneath means moisture is coming through.
- Passive cellars often leave the slab uninsulated so the room stays coupled to cool ground.
- Actively cooled cellars in a warm basement can put rigid foam under a floating subfloor to cut the load, at the cost of 2 inches or more of ceiling height.
- Avoid solid hardwood laid directly on a slab. It cups.
Step 8: Racking goes in last
Racking goes in after the drywall, paint, flooring, door, and cooling unit, on a finished floor, once the paint has cured. Custom racking often has a lead time of several weeks, so order it from drawings measured off the framed room. Fasten it into the blocking from Step 2: a full bottle weighs around 3 pounds (1.4 kg), and a loaded rack adds up fast. Our guide to wine cellar racking covers materials and layouts.
Order of trades and a realistic timeline
Here is how a typical build runs. Durations are working time for a small to medium residential cellar and assume materials are on site; lead times and inspections add calendar time.
| Stage | Who | Typical duration |
|---|---|---|
| Plan, measure, log conditions, permits | Owner, designer | 1 to 4 weeks |
| Order long-lead items (door, cooling, racking) | Owner, suppliers | Lead times of several weeks |
| Framing, blocking, openings | Carpenter | 1 to 3 days |
| Electrical and cooling rough-in | Electrician, HVAC or refrigeration tech | 1 to 3 days |
| Rough-in inspection, where required | Building department | Varies |
| Vapor barrier and insulation | Carpenter or insulation crew | 1 to 2 days |
| Drywall, tape, finish | Drywaller | 3 to 5 days with drying time |
| Paint and flooring | Painter, flooring installer | 2 to 5 days |
| Door install | Carpenter | About 1 day |
| Cooling unit set and started | HVAC or refrigeration tech | 1 day, then a few days to stabilize |
| Racking install | Racking installer or owner | 1 to 5 days |
All in, a simple DIY cellar can come together over a few weeks of weekends. A custom cellar with a split system and made-to-measure racking usually runs two to four months from design to loaded racks, most of it waiting on lead times.
Run the cooling unit for a few days with the room empty and log the numbers before you load any wine. That is the cheapest test you will ever run.
Where people go wrong
The mistakes we see most often when we are called in to fix a cellar:
- Vapor barrier on the cellar side, or two barriers that trap moisture between them.
- 2x4 walls with R-13, and a cooling unit that never stops running.
- An interior door, or a good door with no sweep.
- Skipping the ceiling, or leaving an HVAC register open in it.
- Cooling bought by bottle count instead of by load.
- A through-the-wall unit exhausting into a closet that overheats by midsummer.
- Loading wine on day one, before anyone has watched the room hold 55°F for a week.
If humidity problems show up after the fact, our guide to wine cellar humidity and mold covers diagnosis, and wine cellar humidifiers covers the dry-winter side.
When to bring in a pro
Framing, insulation, drywall, and racking are within reach of a capable DIYer. We recommend professionals for:
- Split systems. Line sets and refrigerant charging need a licensed HVAC or refrigeration technician. In the US, handling refrigerant requires EPA Section 608 certification.
- Electrical work beyond what your jurisdiction allows a homeowner to do.
- Below-grade moisture. Water on the foundation is a drainage problem to solve before any cellar detail.
- Glass walls. Large glazing changes the cooling load and the condensation risk, and it needs a proper calculation.
- Structural changes, such as cutting a new opening in a bearing wall.
If you want someone to check your plan before the walls close up, contact our experts. It is much cheaper to move a vapor barrier on paper than behind finished drywall. And once the room is running, how to store wine covers what happens on the racks.
FAQ
Frequently asked questions
- What is the correct order to build a wine cellar?
- Plan and measure the room first, then frame (with blocking for racking and openings for the door and cooling), rough in electrical and cooling, install the vapor barrier on the warm side and insulation, then drywall, paint, and flooring. Install the door and cooling unit, let the room stabilize for a few days, and install racking last.
- Do wine cellar walls need to be 2x6?
- We recommend it. A 2x6 wall has a 5-1/2 inch cavity, which holds R-19 to R-21 insulation. A 2x4 wall tops out around R-13 to R-15 with batts unless you add rigid foam, which forces the cooling unit to work harder.
- Which side of the insulation does the vapor barrier go on in a wine cellar?
- The warm side. On a cellar wall facing the rest of the house, that is the house side, not the inside of the cellar. On below-grade foundation walls the detail is different: foam bonded to the concrete usually provides the vapor control, so check with your building department.
- How much insulation does a wine cellar need?
- Aim for at least R-19 in the walls and R-30 in the ceiling. The ceiling gets more because the space above is usually heated living space.
- Can I use a regular air conditioner to cool a wine cellar?
- We do not recommend it. Most residential air conditioners are designed to cool to the high 60s or low 70s °F and remove a lot of moisture, which can drive a cellar too dry. A cellar cooling unit is built to hold about 55°F (13°C) while keeping humidity up.
- How long does it take to build a wine cellar?
- A simple DIY cellar can be built over a few weeks of weekends. A custom cellar with a split system and made-to-measure racking usually takes two to four months from design to loaded racks, much of it spent waiting on lead times for the door, cooling, and racking.
- What flooring is best for a wine cellar?
- Sealed concrete, tile, stone, or brick. They tolerate steady cellar humidity (50 to 70%). Avoid carpet, which holds moisture and grows mold, and avoid solid hardwood laid directly on a concrete slab.