guide
Wine cellar insulation and vapor barrier: which side, what materials, what R-value
A wine cellar is a reverse-climate room, so the vapor barrier goes on the warm side. How to insulate walls, ceiling, concrete and finished walls, with R-value targets and the mistakes that cause mold.
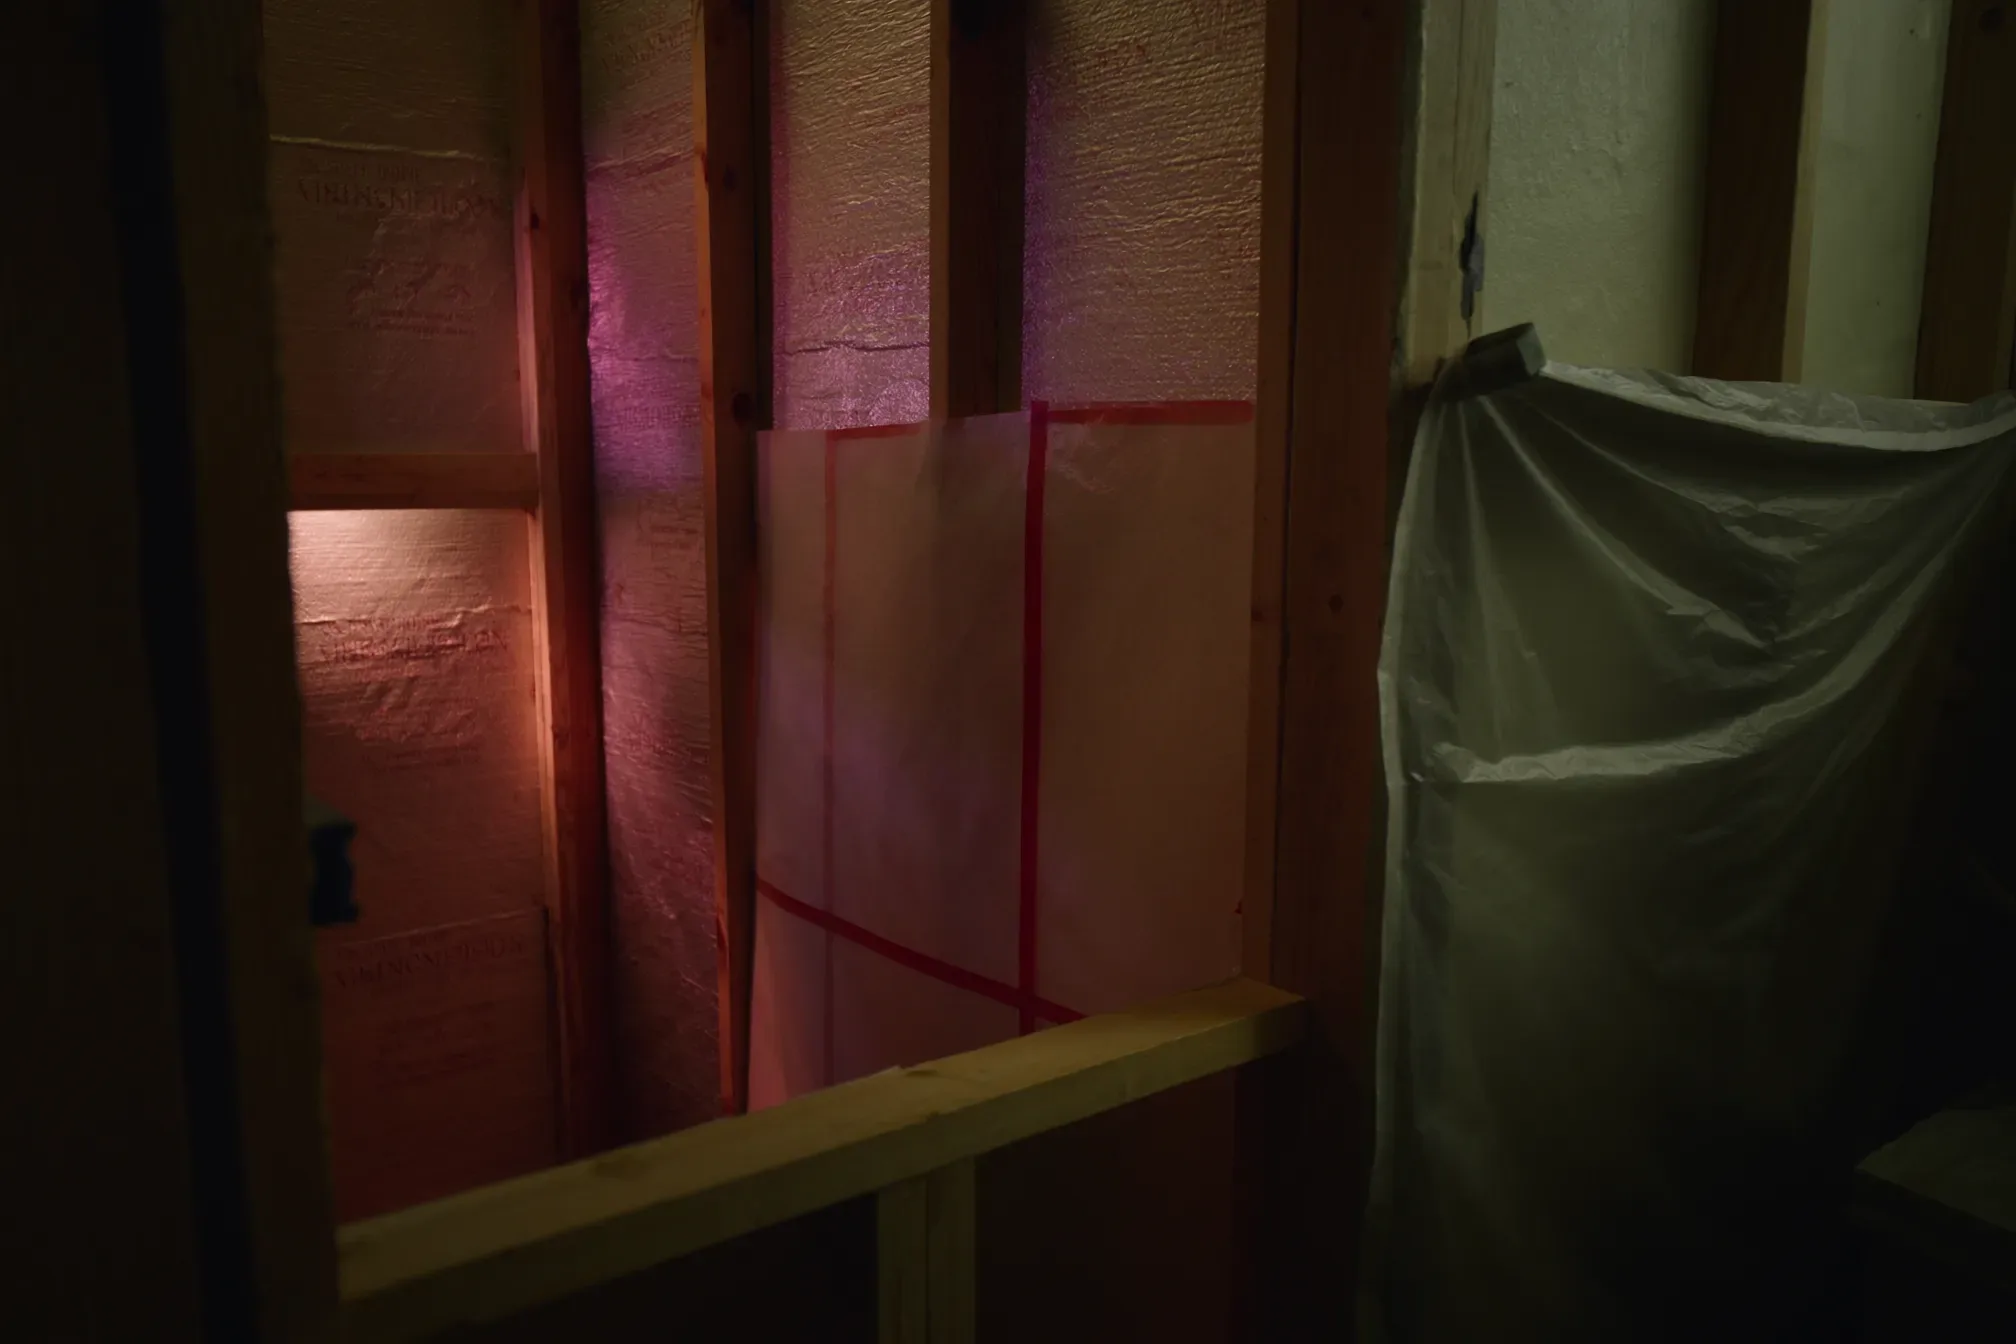
Insulation and vapor control are the parts of a wine cellar nobody sees, and the parts we spend the most time fixing. A cellar can have the right cooling unit, a good door and beautiful racking, and still grow mold inside its walls because the vapor barrier went on the wrong side.
This guide covers how moisture moves through a cellar wall, where the barrier goes, which materials we use, the R-values to aim for, and how to handle concrete, finished walls and every hole you cut in the envelope.
A cellar is a reverse-climate room
In an ordinary house in winter, the inside is warm and humid and the outside is cold and dry. Building codes, and most of what a framer does by habit, assume that direction.
A wine cellar flips it. The room runs at about 55°F (13°C) and, in most cellars we build, around 60% relative humidity (50 to 70% is fine). The house around it sits near 70 to 75°F (21 to 24°C) all year. Warm air holds far more water than cold air, so even at a lower relative humidity, the house air carries more moisture than the cellar air.
Water vapor moves from warm to cold and from more moisture to less. For a cellar, both point the same way: the vapor drive is inward, from the house toward the cellar, every day of the year.
That makes the house side the warm side. The vapor barrier goes on the warm side of the insulation, which on a cellar means the outside of the cellar envelope, facing the rest of the house. This is the opposite of where a framer would put it on an exterior wall in a cold climate.
What happens when the barrier is on the wrong side
Picture a typical summer day: the house at 75°F (24°C) and 60% relative humidity. The dew point of that air is about 60°F (16°C). Any surface colder than that will collect water if the air can reach it.
Inside a cellar wall, the coldest surface is the back of the cellar-side drywall, sitting close to 55°F (13°C). Now trace the two common mistakes:
- Poly on the cellar side, nothing on the house side. Humid house air passes through the outer drywall and the insulation and hits the poly, which is cold. It condenses there. The water has nowhere to go, because the poly blocks it from drying into the cellar.
- No vapor barrier at all. Moisture still reaches the cold back of the cellar drywall and condenses. Some of it dries into the cellar, which raises humidity and adds to the cooling unit's workload.
The results are the same ones we open walls to find: wet fiberglass that has lost much of its R-value, black mold on the back of the drywall and on the studs, rust on the electrical boxes, and a cooling unit that runs far longer than it should. A good share of that runtime goes to pulling water out of the air rather than lowering the temperature. Our guide to wine cellar humidity and mold covers what this looks like from inside the room.
Materials that work
6-mil polyethylene
The traditional choice for framed walls. Six-mil poly is a Class I vapor retarder (well under 0.1 perm), cheap and easy to find. It goes on the house side of the studs, under the house-side drywall. It is only as good as its seams and penetrations, which is where most poly installations fail. More on that below.
Closed-cell spray foam
Our first choice for ceilings, irregular spaces and retrofits. Closed-cell foam insulates at roughly R-6 to R-7 per inch, sticks to whatever it touches, and fills gaps, so it acts as the air barrier and, at enough thickness, the vapor retarder too. Most products reach Class II (1 perm or less) somewhere between 1 and 2 inches, so check the data sheet for the product your installer uses.
Because it is vapor-resistant through its whole depth, closed-cell foam sprayed against the back of the house-side drywall puts the vapor control exactly where it belongs. About 3 inches in a 2x4 cavity gets you close to R-19. Spray foam is priced by the board foot, and small cellars often run into an installer's minimum charge, so get a quote early.
Open-cell spray foam is a different product. It is vapor-open and should not be used as the vapor control in a cellar.
Rigid foam boards
Rigid foam works on concrete, as continuous insulation over framing, and as a retrofit layer. The three types behave differently:
| Material | Approx. R per inch | Vapor behavior | Where we use it |
|---|---|---|---|
| Closed-cell spray foam | R-6 to R-7 | Class II at about 1 to 2 in, depending on product | Ceilings, retrofits, rim joists, odd shapes |
| Polyiso, foil-faced | About R-6 (labeled), a little less when cold | Foil facing is close to vapor-tight | Continuous layer on framed walls and ceilings |
| XPS (extruded polystyrene) | About R-5 (labeled), slightly less aged | Semi-permeable, about 1 perm at 1 in | Concrete walls, under subfloors |
| EPS (expanded polystyrene) | About R-3.6 to R-4.2 | More permeable than XPS | Concrete walls and slabs, where thickness allows |
| Fiberglass or mineral wool batts | About R-3 to R-4.3 | Vapor-open, needs a separate barrier | Framed cavities behind poly or foam |
Whatever board you use, the board is not the barrier until the seams are sealed. Tape every joint with the tape the manufacturer specifies (foil tape on polyiso, sheathing tape on XPS and EPS), and fill gaps at the edges with canned foam. A board wall with open seams leaks air, and air carries far more moisture than diffusion through the board does.
Exposed foam of any kind needs a thermal barrier for fire safety, usually 1/2-inch drywall.
R-value targets
We build every actively cooled cellar to at least R-19 in the walls and R-30 in the ceiling. The ceiling gets more because warm air collects upstairs and the room above is often warmer than the rooms beside the cellar.
Ways to get there:
- 2x6 walls with R-19 or R-21 batts and poly on the house side.
- 2x4 walls with about 3 inches of closed-cell spray foam, or batts plus a continuous layer of rigid foam.
- Ceilings with 4.5 to 5 inches of closed-cell foam in the joist bays, or batts plus taped rigid foam on the warm side.
Insulation is the cheapest cooling you will ever buy. In our BTU calculator, halving the insulation raises the cooling load by about half, which can push you up a full unit size. See how to size cellar cooling for how the numbers work.
Glass is the exception you plan around. Single-pane glass is about R-1 and double-pane about R-2, so a glass wall carries many times the load of the same area of insulated wall. Our guide to glass wine cellars covers that trade-off.
Basement concrete walls and slabs
Concrete changes the rules. It is never fully dry, and in a basement the ground keeps it cool, so the risk is room air reaching a cold, damp surface.
- Do not staple poly over the concrete or put poly on a stud wall with batts against the concrete. Both trap moisture against the wall with no way to dry.
- Bond foam directly to the concrete. Rigid foam glued or fastened tight with taped seams, or closed-cell spray foam sprayed straight on, leaves no air gap for moisture to condense in.
- Frame inside the foam for more insulation, wiring and racking, without a second sheet of poly on the cellar face.
- Slabs: for an active cellar in a warm basement, rigid foam under a floating subfloor cuts the load. A passive cellar often leaves the slab bare to stay coupled to cool ground.
Below-grade vapor rules vary by jurisdiction, so check with your building department before you frame. Our basement wine cellar guide goes through the details, including the ceiling under heated rooms.
Existing finished walls
Most cellars go into rooms that already have drywall on the house side. You have four realistic options:
- Spray closed-cell foam from inside the cellar. Strip the cellar-side drywall, spray into the open bays against the back of the house-side drywall, then finish. This puts the air and vapor control on the warm side in one step. It is our usual retrofit.
- Open the house side. Remove the outer drywall, install poly properly, and replace it. By the book, but it means patching and painting a finished room.
- Wrap the bays from inside. Lay poly into each stud bay so it lies against the back of the house-side drywall and folds over the studs, sealing every overlap, then add batts. Many cellar builders do this. It works if you are patient, and it fails if you are not.
- Foam on the cellar face of an uninsulated wall. On a hollow partition, foil-faced polyiso glued to the cellar side with taped seams can work, because nearly all the R-value sits in the foam and the old drywall behind it stays close to house temperature. You will need about 3 inches to reach R-19.
What does not work is adding poly to the cellar side of an existing insulated wall. That is the wrong-side mistake, built on purpose.
Seams, penetrations and electrical boxes
A vapor barrier is rated as a sheet. In a real wall, what matters is the holes in it.
- Seams. Overlap poly at least 6 inches, land the overlap on a stud or plate, and seal it with acoustical sealant or a compatible tape. Seal the poly to the floor and ceiling plates as well.
- Electrical boxes. Use airtight boxes with a flange the poly can be sealed to, or wrap standard boxes in a poly hood. Seal where the cable enters. Fewer boxes on the warm side of the wall is better.
- Lighting. Recessed cans are holes in the ceiling. Use airtight, IC-rated fixtures or low-profile LED fixtures that need only a small junction box, and keep heat-producing lights out of the cellar.
- Pipes, wires and the cooling unit sleeve. Seal every pass-through with sealant or foam and tape the barrier to it. The opening around a through-the-wall unit is a common leak; see choosing a through-the-wall cooling unit.
- Rim joists and wall-to-ceiling corners. These are the joints between two crews' work and the places we most often find gaps. Spray foam is the easiest fix.
Before the cellar drywall goes up, walk the room with a flashlight and look at every seam and box. It costs nothing at that stage and is expensive after.
The door is the weak point
You can build an R-19 wall with a perfect barrier and lose it at the door. Even a good insulated door is around R-5 to R-7, and a gap under it lets cold air pour out all day. Use an exterior-grade door with weatherstripping on all four sides and a sealed threshold. Our guide to wine cellar doors covers what to specify.
Common mistakes
- Vapor barrier on the cellar side. The classic error, usually made by a framer working from habit.
- Barriers on both sides with insulation trapped between.
- Poly against basement concrete, or a stud wall with batts and poly over damp concrete.
- Untaped rigid foam seams, which turn a good board into a leaky wall.
- Open-cell spray foam used as if it were a vapor barrier.
- Unsealed electrical boxes and recessed lights, especially in the ceiling.
- Thin ceiling insulation, because the ceiling is out of sight and the joists are only so deep.
- Insulating before fixing water. No insulation detail survives a wall that leaks.
If you are planning the whole room, start with how to build a wine cellar, and check the targets the envelope is protecting in ideal cellar temperature and humidity. If your walls are already built and you are not sure what is inside them, contact our experts before you close anything up.
FAQ
Frequently asked questions
- Which side does the vapor barrier go on in a wine cellar?
- The warm side, which in a wine cellar is the outside of the cellar walls and ceiling, facing the rest of the house. The cellar is the cold room, so moisture moves from the house toward the cellar and the barrier has to stop it before it reaches the cold side of the insulation.
- Do you need a vapor barrier in a wine cellar?
- Yes, for any actively cooled cellar. Without one, humid house air reaches the cold back of the cellar drywall, condenses, and can lead to wet insulation, mold, and a cooling unit that runs constantly removing moisture.
- Is closed-cell spray foam good for a wine cellar?
- It is one of the best options. Closed-cell foam insulates at roughly R-6 to R-7 per inch, air seals, and acts as a vapor retarder at about 1 to 2 inches depending on the product. Sprayed against the back of the house-side drywall, it puts vapor control on the warm side in one layer. Open-cell foam is vapor-open and does not do the same job.
- What R-value do you need for a wine cellar?
- We recommend at least R-19 in the walls and R-30 in the ceiling for an actively cooled cellar. Lower values work, but the cooling load rises quickly. Halving the insulation raises the load by about half in our BTU calculator.
- Can I use rigid foam board to insulate a wine cellar?
- Yes. Polyiso, XPS, and EPS all work, with polyiso giving the most R-value per inch and XPS or EPS preferred directly against concrete. Tape every seam and seal the edges, or the board wall will leak air and moisture. Exposed foam needs a drywall covering for fire safety.
- How do I add a vapor barrier to a wine cellar with finished walls?
- The most reliable option is to remove the cellar-side drywall and spray closed-cell foam into the open stud bays against the back of the house-side drywall. Alternatives are removing the house-side drywall to install poly, or carefully wrapping poly into each bay from inside the cellar. Do not add poly to the cellar side of an insulated wall.