guide
Wine cellar under stairs: a builder's guide to space, cooling, racking, and cost
Can the space under your stairs hold a real climate-controlled wine cellar? How we measure it, enclose it, cool it, rack the slope, and what drives the cost.
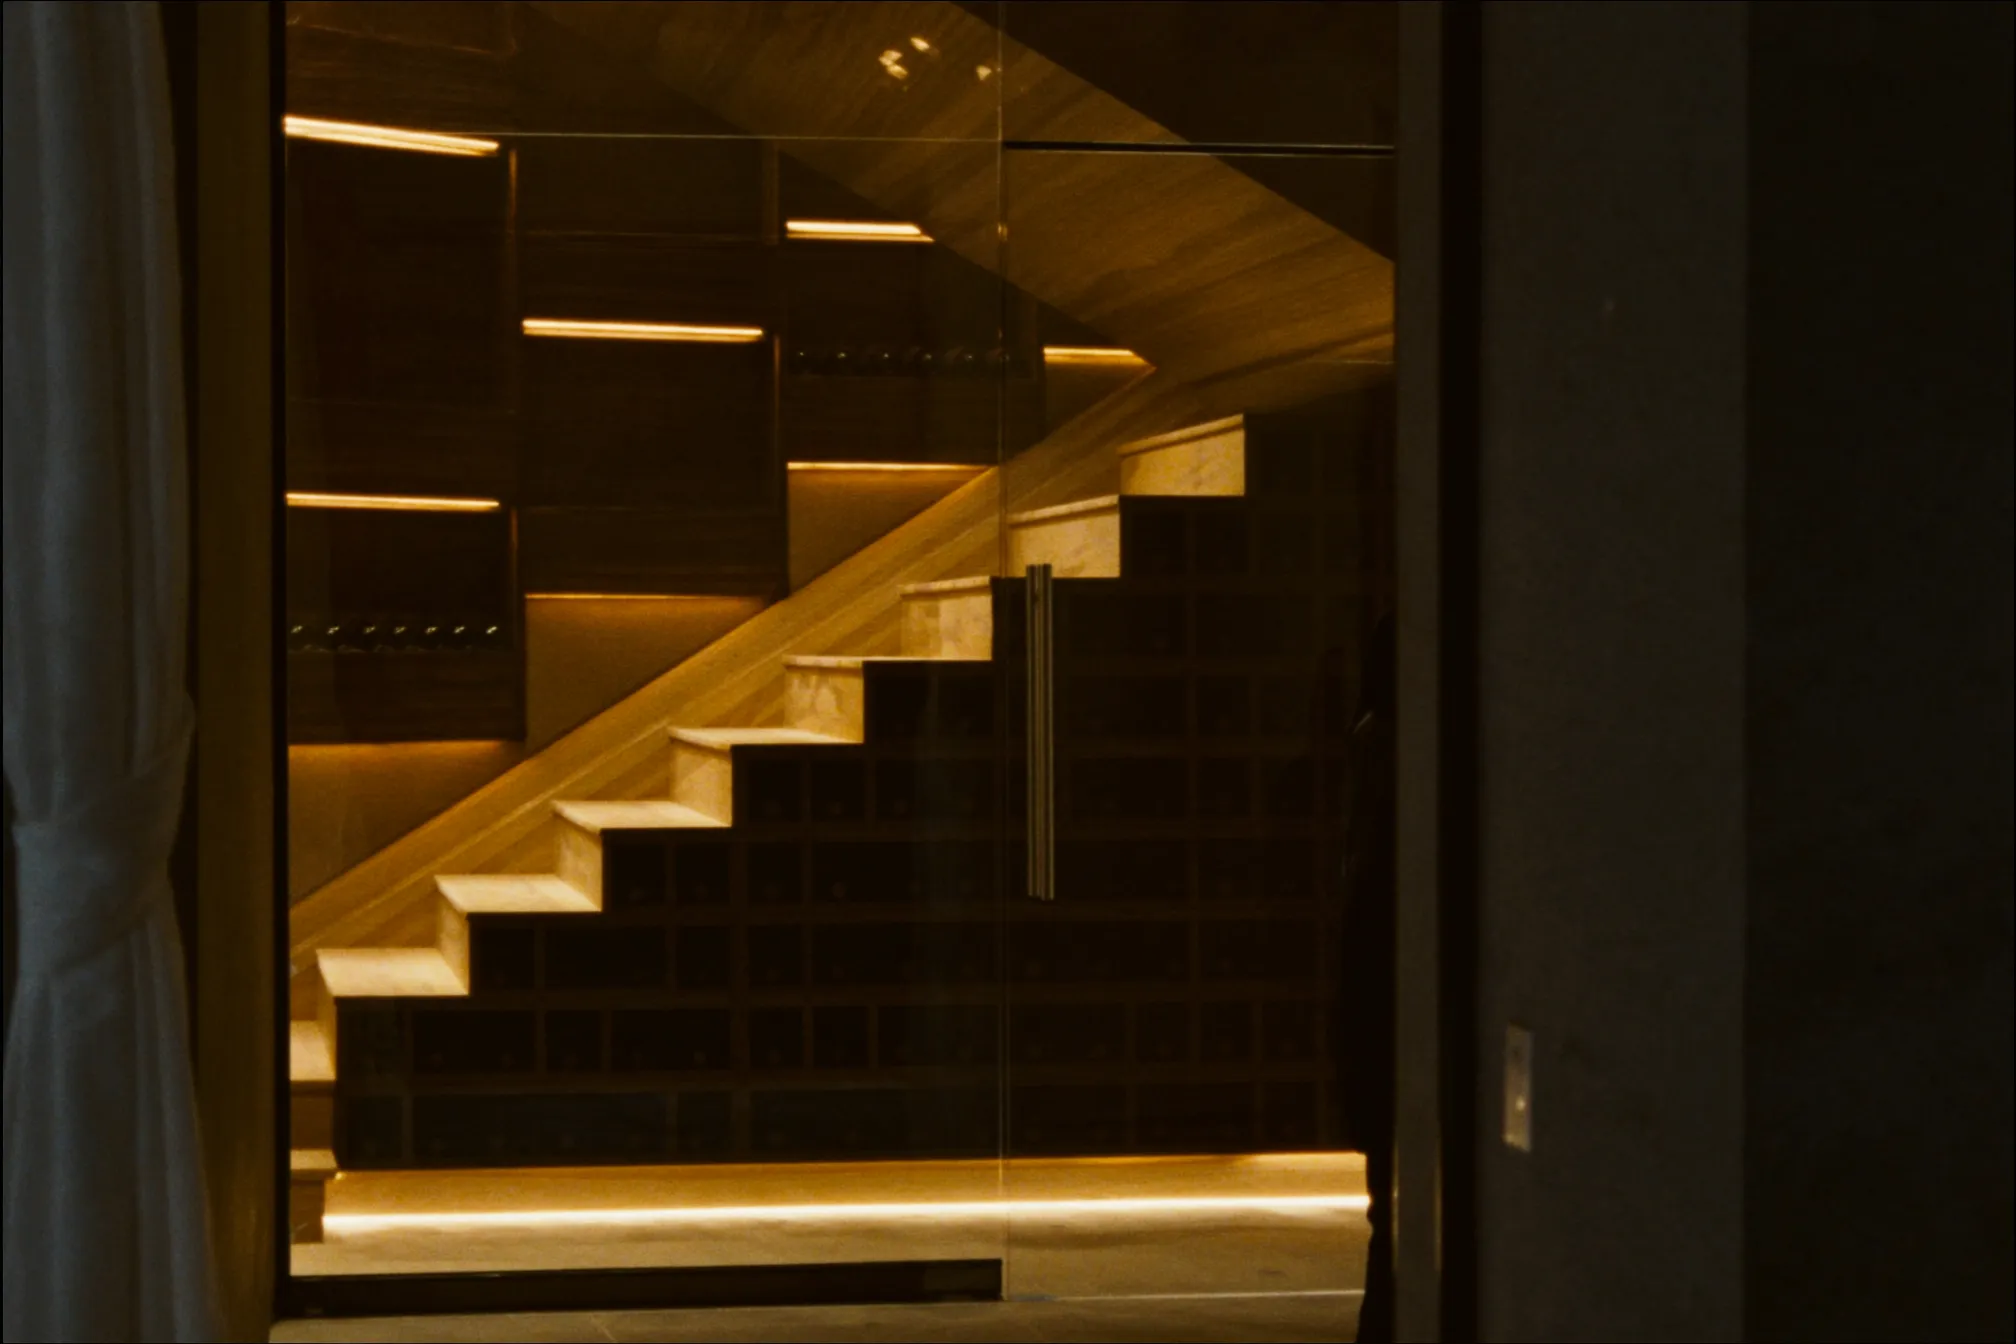
The space under a staircase is the most common "found" cellar in a house. It is already framed, usually wasted, and often right where guests see it. It is also one of the trickiest small cellars to build well.
Here is how we decide whether an under-stair space can be a true cellar, and how we build it when it can.
First decision: cellar or display?
Before anyone draws a rack, answer one question: do you want to age wine in this space, or show wine in it?
- A cellar holds 55°F (13°C) and 50 to 70% relative humidity year-round. That means a sealed, insulated, vapor-controlled enclosure, a real door, and almost always active cooling.
- A display is racking and lighting under the stairs at room temperature. It is fine for bottles you will open within a year or so. It is not fine for wine you plan to hold for a decade.
Both are legitimate. The mistake is building the display and expecting the cellar. A stair alcove at 70°F (21°C) ages wine faster, and seasonal swings do more harm than the average. See our guide to ideal cellar temperature and humidity for why stability matters as much as the number.
Why stairs are harder than they look
Three things work against an under-stair cellar:
- The stairwell is a chimney. Warm air rises through the open stair and collects at the top of the flight. The underside of the stair, which becomes your cellar ceiling, sits in the warmest air in that part of the house. On a basement stair it is often the warmest surface in the basement.
- The framing is the structure. Stringers, carriage boards, and any center support carry the stair. You can furr them down and build around them, but you cannot notch, drill, or remove them to gain a few inches of insulation depth.
- The volume is tiny. A full basement flight usually encloses somewhere around 100 to 150 cubic feet. Small volumes swing fast when the door opens, and they are hard to match with cooling equipment that is not oversized.
Measure the triangle
Seen from the side, the space under a straight stair is a right triangle. Measure three things:
- Run: horizontal length from the first riser to the point where the stair meets the upper floor or landing.
- Rise: height from the floor to the underside of the stair at the tall end.
- Width: the stair width, typically 36 to 42 inches.
Gross volume is run × rise × width ÷ 2. A flight with a 10-foot run, 8-foot rise, and 3-foot width is about 120 cubic feet before you lose anything to insulation, drywall, and the low corner.
Then be honest about what is usable. After 4 to 6 inches of insulation, interior depth drops to roughly 28 to 34 inches. That is too narrow to walk into, so most under-stair cellars are reach-in: a door or glass front on the long side, racks against the back wall. The low end is hard to reach and best used for bulk storage.
Realistic bottle capacity
Single-deep individual racking holds roughly 9 to 10 bottles per square foot of rack face. Bulk bins and diamond cubes hold more, at the cost of display. For typical footprints, plan on:
| Under-stair footprint | Typical layout | Realistic capacity |
|---|---|---|
| Short flight or half-landing stair (6 to 8 ft run) | Reach-in, single wall of racks | 80 to 200 bottles |
| Full basement flight (10 to 12 ft run) | Reach-in, back wall plus bins at low end | 200 to 400 bottles |
| Stair on a wider footprint or opening into adjacent space | Small walk-in with racks on two or three walls | 400 to 800 bottles |
Enclosure: solid walls or a glass front
Whatever the face looks like, the rest of the envelope follows the same rules as any cellar. We aim for R-19 or better in the walls and as close to R-30 as the stair allows on the slope, with the vapor retarder on the warm side. In an under-stair cellar, the warm side is everything outside the cellar: the stairwell above and the room in front.
The slope is the hard part. Stringers are rarely deep enough for R-30. We usually furr down below them to create a continuous cavity, then use closed-cell spray foam or rigid foam board with taped seams. Both control vapor and insulate well per inch, which matters when every inch comes out of racking height. Seal every penetration. Open-riser stairs have no closed underside, so you build a separate sloped ceiling below them, which costs height.
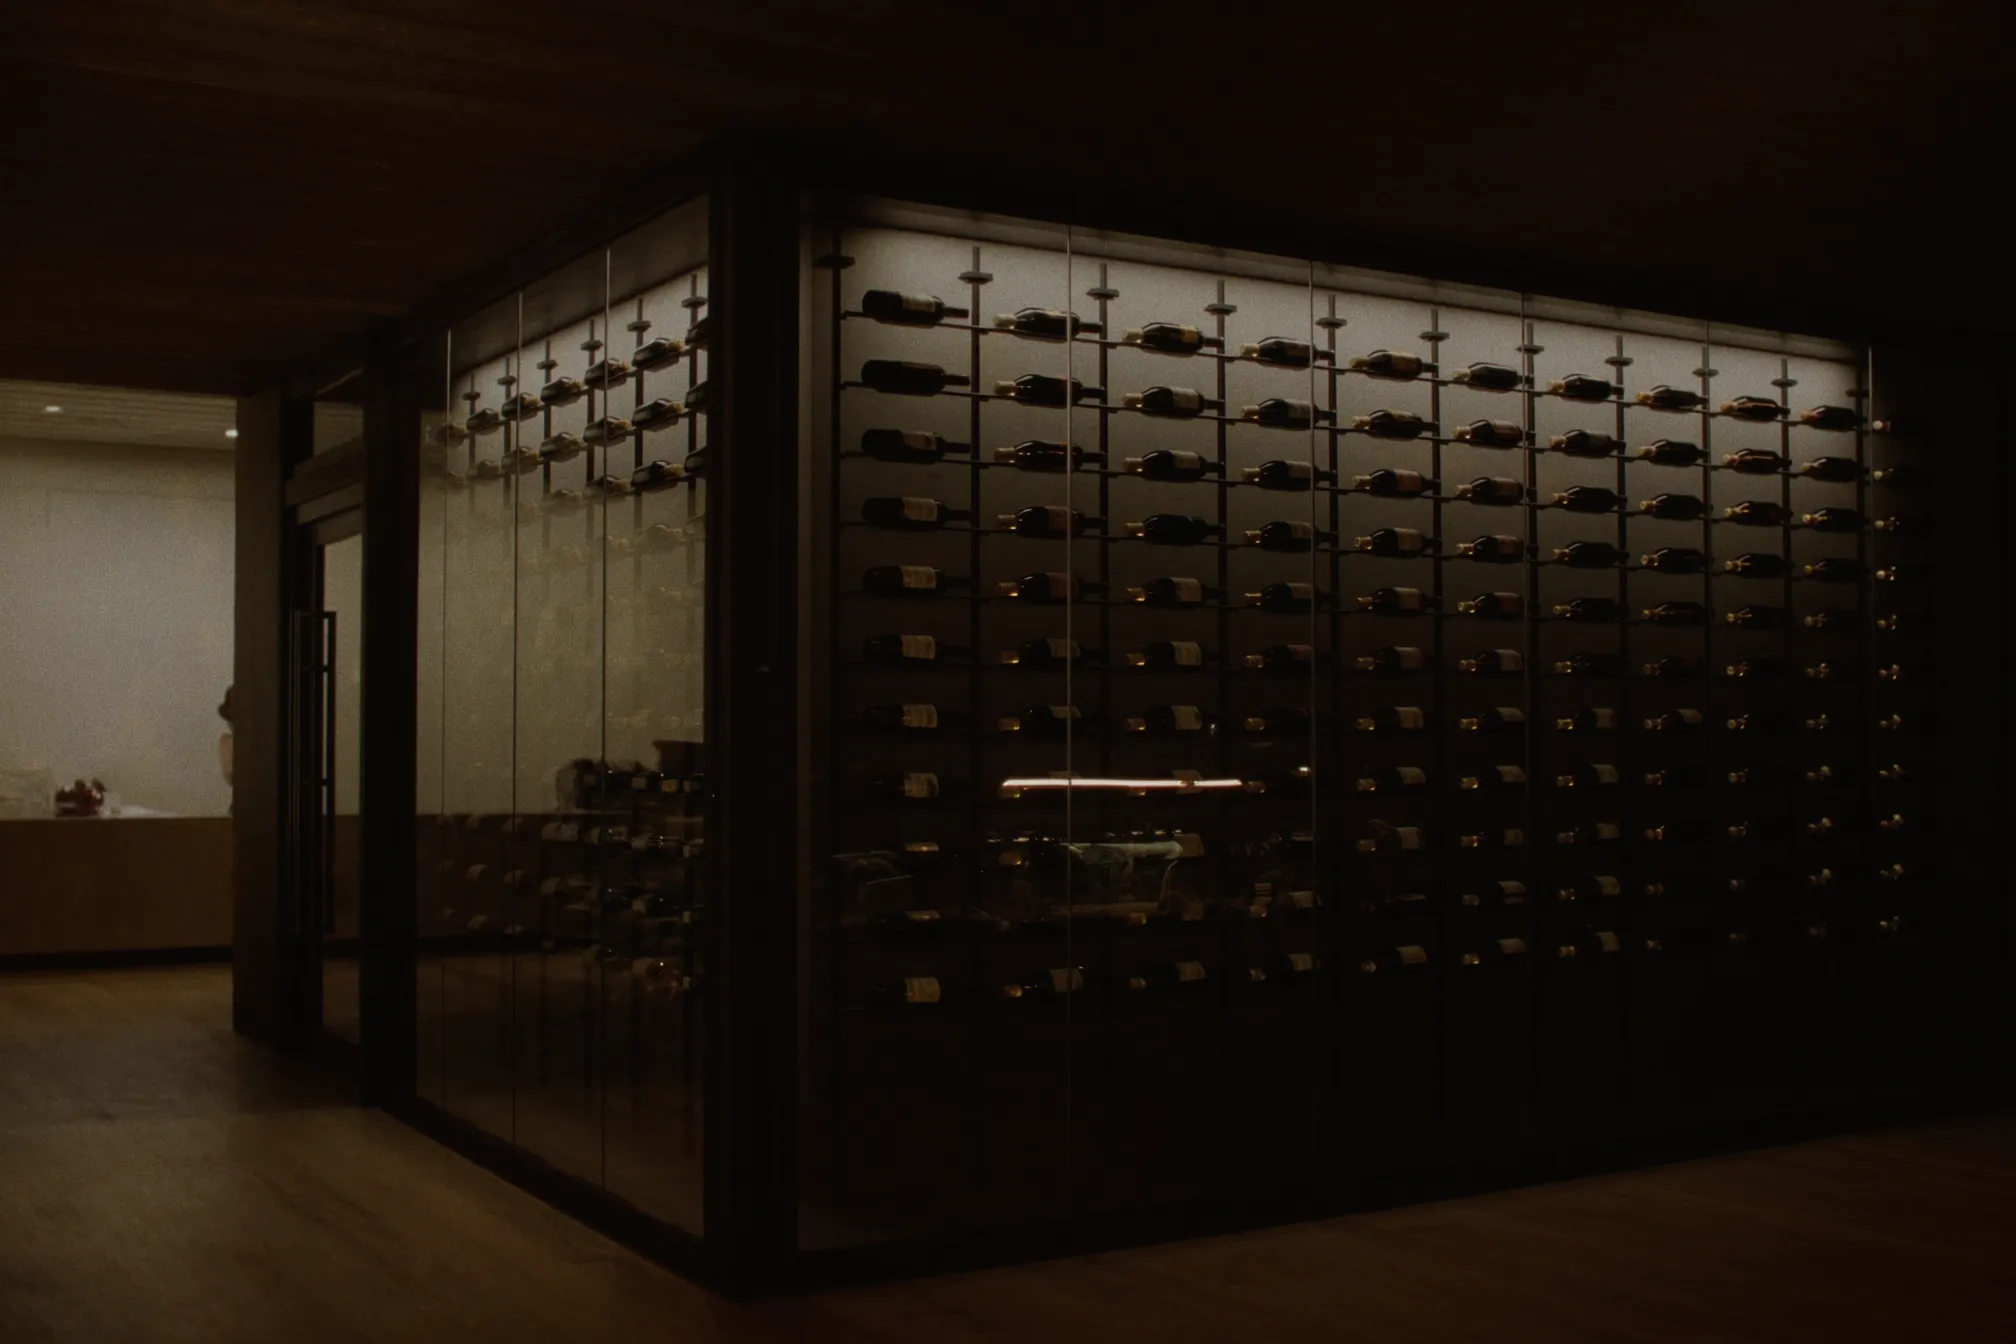
For the face, the choice is display versus load. A solid insulated wall is cheaper, easier on a triangular opening, and needs less cooling. Glass trades that for the view:
Pros
- Shows the collection and turns the stair into a feature
- Label-forward racking reads from across the room
- Makes a small space feel larger
Cons
- Insulated glass rates around R-2, a fraction of an insulated wall, so cooling load rises sharply
- Custom triangular or raked panels are expensive with long lead times
- Single-pane glass can sweat on the room side in humid weather
If you go glass, specify insulated glass units, not single tempered panes, and enter the glass as its own component in the load calculation. Our glass wine cellars guide covers framing and glazing options in depth.
Cooling a very small volume
Run the numbers first with our BTU calculator and sizing guide. Under-stair cellars land at the low end of what cooling equipment is built for, so oversizing is the main risk: the unit short-cycles, never pulls humidity down, and wears out early.
| Option | Works when | Watch out for |
|---|---|---|
| Through-the-wall (self-contained) | There is an adjacent room or closet to take the exhaust that stays inside the unit's rated ambient range | Exhaust heat and fan noise go into that room; most manuals want the exhaust space at least as large as the cellar |
| Ductless split | No good exhaust room, or the stair faces a living space where noise matters | Needs a line set route through framing to an outdoor or remote condenser, a condensate drain, and a higher budget |
| Ducted split | A mechanical room or closet nearby can house the evaporator | Duct runs through stair framing are awkward; often more system than a tiny room needs |
| Passive (no unit) | Basement stair in a cool, stable basement that logs within range year-round | Open stairwells usually track house temperature, not the ground |
Through-the-wall is the most common and most misused option under stairs. On a basement stair the exhaust might go to a storage room behind the cellar, which is ideal. On a main-floor stair it is usually the living room: warm air and fan noise where you entertain. Read our through-the-wall buying guide and the self-contained vs ducted split comparison before committing, and see wine cellar cooling units for the full range of system types.
Passive works only under narrow conditions. Log temperature and humidity in the space for a full year first; our small passive cellar guide explains what to look for. On a main-floor stair, passive means room temperature, which means display.
Racking for the slope
Under-stair racking has to follow the stair line without wasting the corners. What works:
- Stepped modules. Columns that step down as the stair descends. Simple and modular.
- Raked top rows. Custom racks cut to parallel the slope. Cleaner look, more fabrication.
- Label-forward display rows at eye level near the tall end. They hold fewer bottles per foot, so limit them to a band.
- Large-format spots for magnums. They need deeper, wider cells, so draw them in from the start.
- Bulk bins in the low corner, where individual slots are hard to reach.
Leave a gap behind the racks for air to move. Fasten racks to the cellar walls, not directly to the stair stringers, so footfall on the treads does not travel straight into the bottles.
Lighting and the door
Lighting: LED only, in low-voltage strips integrated into the racks, with the driver mounted outside the cellar. Warm white (2700K to 3000K) with a high CRI keeps labels readable. Use a door switch or timer.
Door: this is where most under-stair cellars leak. Use an insulated door, solid core or insulated glass, with a full perimeter seal and a sweep. Openings rarely fit a standard door height, so plan a custom unit at the tall end. Our wine cellar doors guide covers the options.
What it costs, and why the range is so wide
We will not pretend there is one price. These are rough bands for US projects, and your region and site conditions can move them a lot:
- Display alcove, no climate control: racking, lighting, and finish work. Roughly $3,000 to $10,000.
- Enclosed, insulated cellar with a solid door and a through-the-wall unit: roughly $10,000 to $25,000.
- Glass-fronted cellar with custom metal racking and a ductless split: roughly $25,000 to $60,000, and more with premium glass and finishes.
What actually drives the number:
- Glass. Custom insulated glass for a raked opening is often the largest line item.
- Cooling type. A ductless split costs several times a small through-the-wall unit once line set, electrical, and drain are included.
- Racking. Modular wood kits at the low end, custom metal at the high.
- The stair itself. Open risers, utilities in the space, or needed repairs all add cost.
If the stair is part of a larger basement plan, see our basement wine cellar guide.
Common mistakes
- Treating the stairwell as neutral. It is the warm side. Insulate and vapor-seal the slope like a roof, not a closet ceiling.
- Cutting stringers for depth. Furr down instead. Structure is not negotiable.
- Oversizing the cooling unit. A small room needs a small, correctly sized unit, not the next size up "for safety."
- Exhausting into the living room. You will hear it every day.
- Forgetting the drain. Every active system makes condensate. Plan the route before drywall.
- Halogen or puck lights. Heat in a 120-cubic-foot room shows up on the thermometer.
Where to start
Measure the triangle, decide honestly between cellar and display, and find out what is on the other side of each wall. Those three answers settle most of the design. If you want a second set of eyes on a specific stair, contact our experts. For broader design direction, our modern wine cellar guide covers materials and lighting in more detail.
FAQ
Frequently asked questions
- Can you put a wine cellar under the stairs?
- Yes, if you enclose it properly: insulated walls and sloped ceiling, a vapor retarder on the warm side, a sealed insulated door, and usually active cooling. Without those it is a room-temperature display, fine for wine you will drink soon but not for aging.
- How many bottles fit in a wine cellar under the stairs?
- A short flight typically holds 80 to 200 bottles, a full basement flight 200 to 400 in a reach-in layout, and a wider footprint that allows a small walk-in 400 to 800.
- How much does it cost to build a wine cellar under the stairs?
- Roughly $3,000 to $10,000 for a display alcove, $10,000 to $25,000 for an enclosed cellar with a through-the-wall unit, and $25,000 to $60,000 or more for a glass front with custom racking and a ductless split. Glass, cooling type, and racking drive the cost.
- Do you need a cooling unit for an under-stairs wine cellar?
- Usually yes. A stairwell is open to the house, so most under-stair spaces track room temperature. Passive can work under a basement stair in a cool, stable basement, but log temperature for a full year first.
- Can a through-the-wall wine cooling unit work under stairs?
- Yes, if an adjacent room or closet can take the exhaust and stays within the unit's rated range. If the only option is a living room, a ductless split is usually better because it moves heat and noise elsewhere.
- Is a glass wine cellar under the stairs a good idea?
- It can look excellent, but glass insulates far less than a solid wall, so cooling load rises and triangular glazing is expensive. Use insulated glass units, not single panes, and count the glass separately in your load calculation.